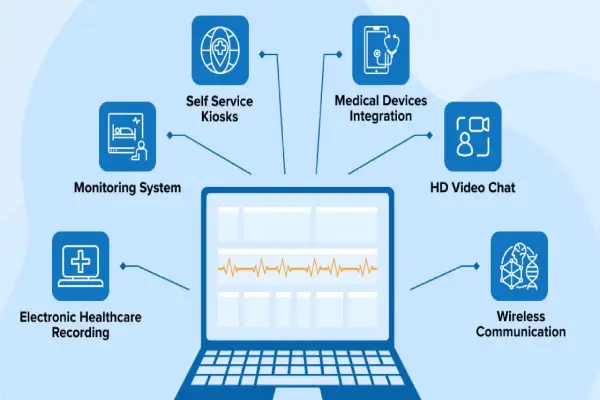
In today’s fast-paced world, telehealth has emerged as a convenient alternative to traditional healthcare. Whether you’re looking to consult with a doctor, manage prescriptions, or attend therapy sessions, telehealth apps make it easier than ever to access medical care from the comfort of your home. In this blog post, we’ll guide you through the process of downloading a telehealth app on your Windows PC and getting started with your virtual healthcare journey.
Why Use Telehealth?
Before diving into the download process, let’s explore some benefits of using telehealth services:
- Convenience: Schedule appointments at your convenience without the need for travel.
- Accessibility: Ideal for those in remote areas or with mobility issues.
- Time-Saving: Minimize waiting times and streamline your healthcare experience.
- Safety: Reduce the risk of exposure to illnesses, especially during flu seasons or pandemics.

Step-by-Step Guide to Downloading a Telehealth App on Windows
1. Choose a Telehealth Provider
Before downloading an app, research different telehealth providers to find one that suits your needs. Popular options include:
- Amwell
- Doctor on Demand
- MDLive
- HealthTap
Visit their websites to learn about their services, costs, and how they handle privacy.
2. Check System Requirements
Ensure your Windows PC meets the system requirements for the app. Most telehealth apps will work on Windows 10 or later. Check the specific requirements on the provider’s website.
3. Download the App
- Option 1: Microsoft Store
- Open the Microsoft Store on your Windows PC.
- Use the search bar to find your chosen telehealth app.
- Click on the app and then select Get to download it.
- Option 2: Official Website
- Navigate to the official website of your chosen telehealth provider.
- Look for a download link for the Windows version of the app.
- Click the link and follow the prompts to download and install the application.
4. Install the App
Once the download is complete, locate the installation file (usually in your Downloads folder) and double-click it to begin the installation process. Follow the on-screen instructions to install the app on your PC.
5. Create an Account
After installation, open the app and create an account. You’ll typically need to provide:
- Your name
- Email address
- Phone number
- Insurance information (if applicable)

Make sure to use a strong password and verify your email if required.
6. Set Up Your Profile
Complete your profile by adding medical history, allergies, and any medications you’re currently taking. This information will help your healthcare provider offer better advice during your consultations.
7. Schedule Your Appointment
Once your account is set up, you can schedule an appointment. Choose the type of consultation you need—video call, chat, or phone call—and pick a time that works for you.
8. Prepare for Your Appointment
Before your appointment, ensure you have a quiet space and a stable internet connection. It’s also helpful to have your medical history and any questions ready for your provider.
Conclusion
Downloading and using a telehealth app on your Windows PC is a straightforward process that can significantly enhance your healthcare experience. By following the steps outlined above, you’ll be well on your way to accessing convenient medical care without the hassle of traditional visits. Embrace the future of healthcare—your health and well-being are just a few clicks away!


