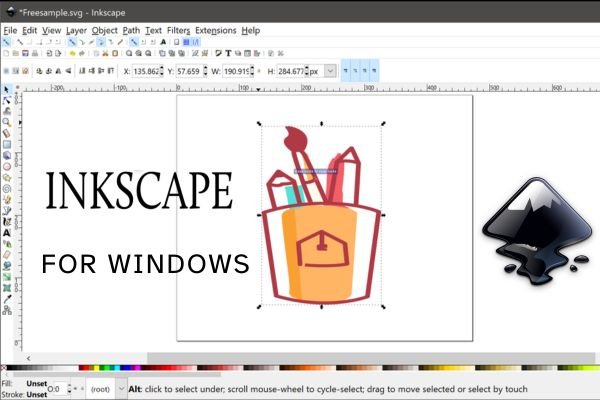
Inkscape is a powerful, open-source vector graphics editor that is perfect for creating stunning designs, illustrations, and more. Whether you’re a graphic designer or just looking to dabble in digital art, Inkscape offers a range of tools that can help you bring your ideas to life. In this post, we’ll walk you through the steps to download and install Inkscape on your Windows PC.

Step 1: Visit the Inkscape Website
- Open Your Web Browser: Launch your preferred web browser (Chrome, Firefox, Edge, etc.).
- Go to the Inkscape Homepage: Type in the URL inkscape.org and hit Enter.
Step 2: Navigate to the Download Page
- Find the Download Section: On the homepage, look for the “Download” button, usually located at the top of the page.
- Select Windows: You’ll be taken to a page where you can choose your operating system. Click on the Windows option.
Step 3: Choose Your Version
Inkscape offers different versions for download. You can typically choose between a stable version or a beta version (for testing new features). For most users, the stable version is recommended.
- Click on the Stable Version: Look for the latest stable release. It will often have a clear label.
- Download the Installer: Click the download link to get the .exe file for Windows.
Step 4: Run the Installer
Once the download is complete, it’s time to install Inkscape.
- Locate the Downloaded File: Navigate to your Downloads folder or wherever you saved the installer.
- Double-Click the Installer: This will launch the installation wizard.
- User Account Control (UAC): If prompted by Windows, click “Yes” to allow the installer to make changes to your device.
Step 5: Follow the Installation Instructions
- Select Language: Choose your preferred language for the installation process and click “OK.”
- Read and Accept the License Agreement: Carefully read the license agreement, then select “I Agree” to proceed.
- Choose Installation Options: You can select the installation type (Typical is recommended for most users) and decide if you want to create desktop shortcuts.
- Select Installation Location: Choose the folder where you want Inkscape to be installed or leave it as default.
- Install: Click the “Install” button to begin the installation process. This may take a few minutes.

Step 6: Launch Inkscape
Once the installation is complete:
- Finish Installation: Click “Finish” to exit the installer.
- Open Inkscape: You can either find it in your Start Menu or use the desktop shortcut (if you created one).
Step 7: Set Up Inkscape
When you first open Inkscape, you may want to configure a few settings:
- Check for Updates: Go to
Help > Check for Updatesto ensure you have the latest features and security fixes. - Explore the Interface: Familiarize yourself with the tools and workspace. There are plenty of tutorials available online to help you get started!
Conclusion
Congratulations! You’ve successfully downloaded and installed Inkscape on your Windows PC. Whether you’re designing logos, creating illustrations, or just experimenting with vector graphics, Inkscape provides the tools you need to unleash your creativity. Happy designing!


